After clicking the New Program button you are given the option to use the New Program Wizard
This allows you to easily create a starting point for your program.
To begin, on the machine selection screen, first select the machine type you are creating a program for.
Next, you will be guided through a series of questions and illustrations to determine the required program structure.
After that, select the type of part-off tool you are using.
Then, enter the basic program data such as part-off tool width, length part, bar diameter, and other relevant values.
At this stage, you can choose to save these values as a template, which you can easily recall later to save time.
Once saved, your program template will be displayed.
Your program template will then be displayed. This includes all the correct synchronisation commands for your part.
At this point, the program is valid and will run on the machine (feeding through the bar and parting off). However, you now need to begin adding processes specific to the part you are making.
The task pane code library displays a list of processes related to the machine you selected.
Depending on the machine it is divided into sections for main spindle, sub spindle etc.
Within each section, the processes are further categorised by type, such as end working, gang tool work, etc. making it quick and easy to locate the required process.
Before proceeding, ensure you have selected the correct position in the program where you want to insert the code.
It is best to work through the program from top to bottom, adding processes along the way.
Each section of the program template is clearly commented to make it easy to select the correct location for each process.
The sections described within the code closely match the sections within the code library tree.
After selecting a process you will be presented with the code editor.
A detailed description of the process is included along with a diagram to illustrate it (where applicable).
You enter the relevant values based on your part within the code editor (values required are marked with asterisks *).
Once finished click the insert button to place the code in your program at the location you chose earlier.
Repeat for each process required until your program is complete.
Many other utility functions are available to help you such as M/G Code help, calculators (e.g. Chamfer, Drill depth) etc.
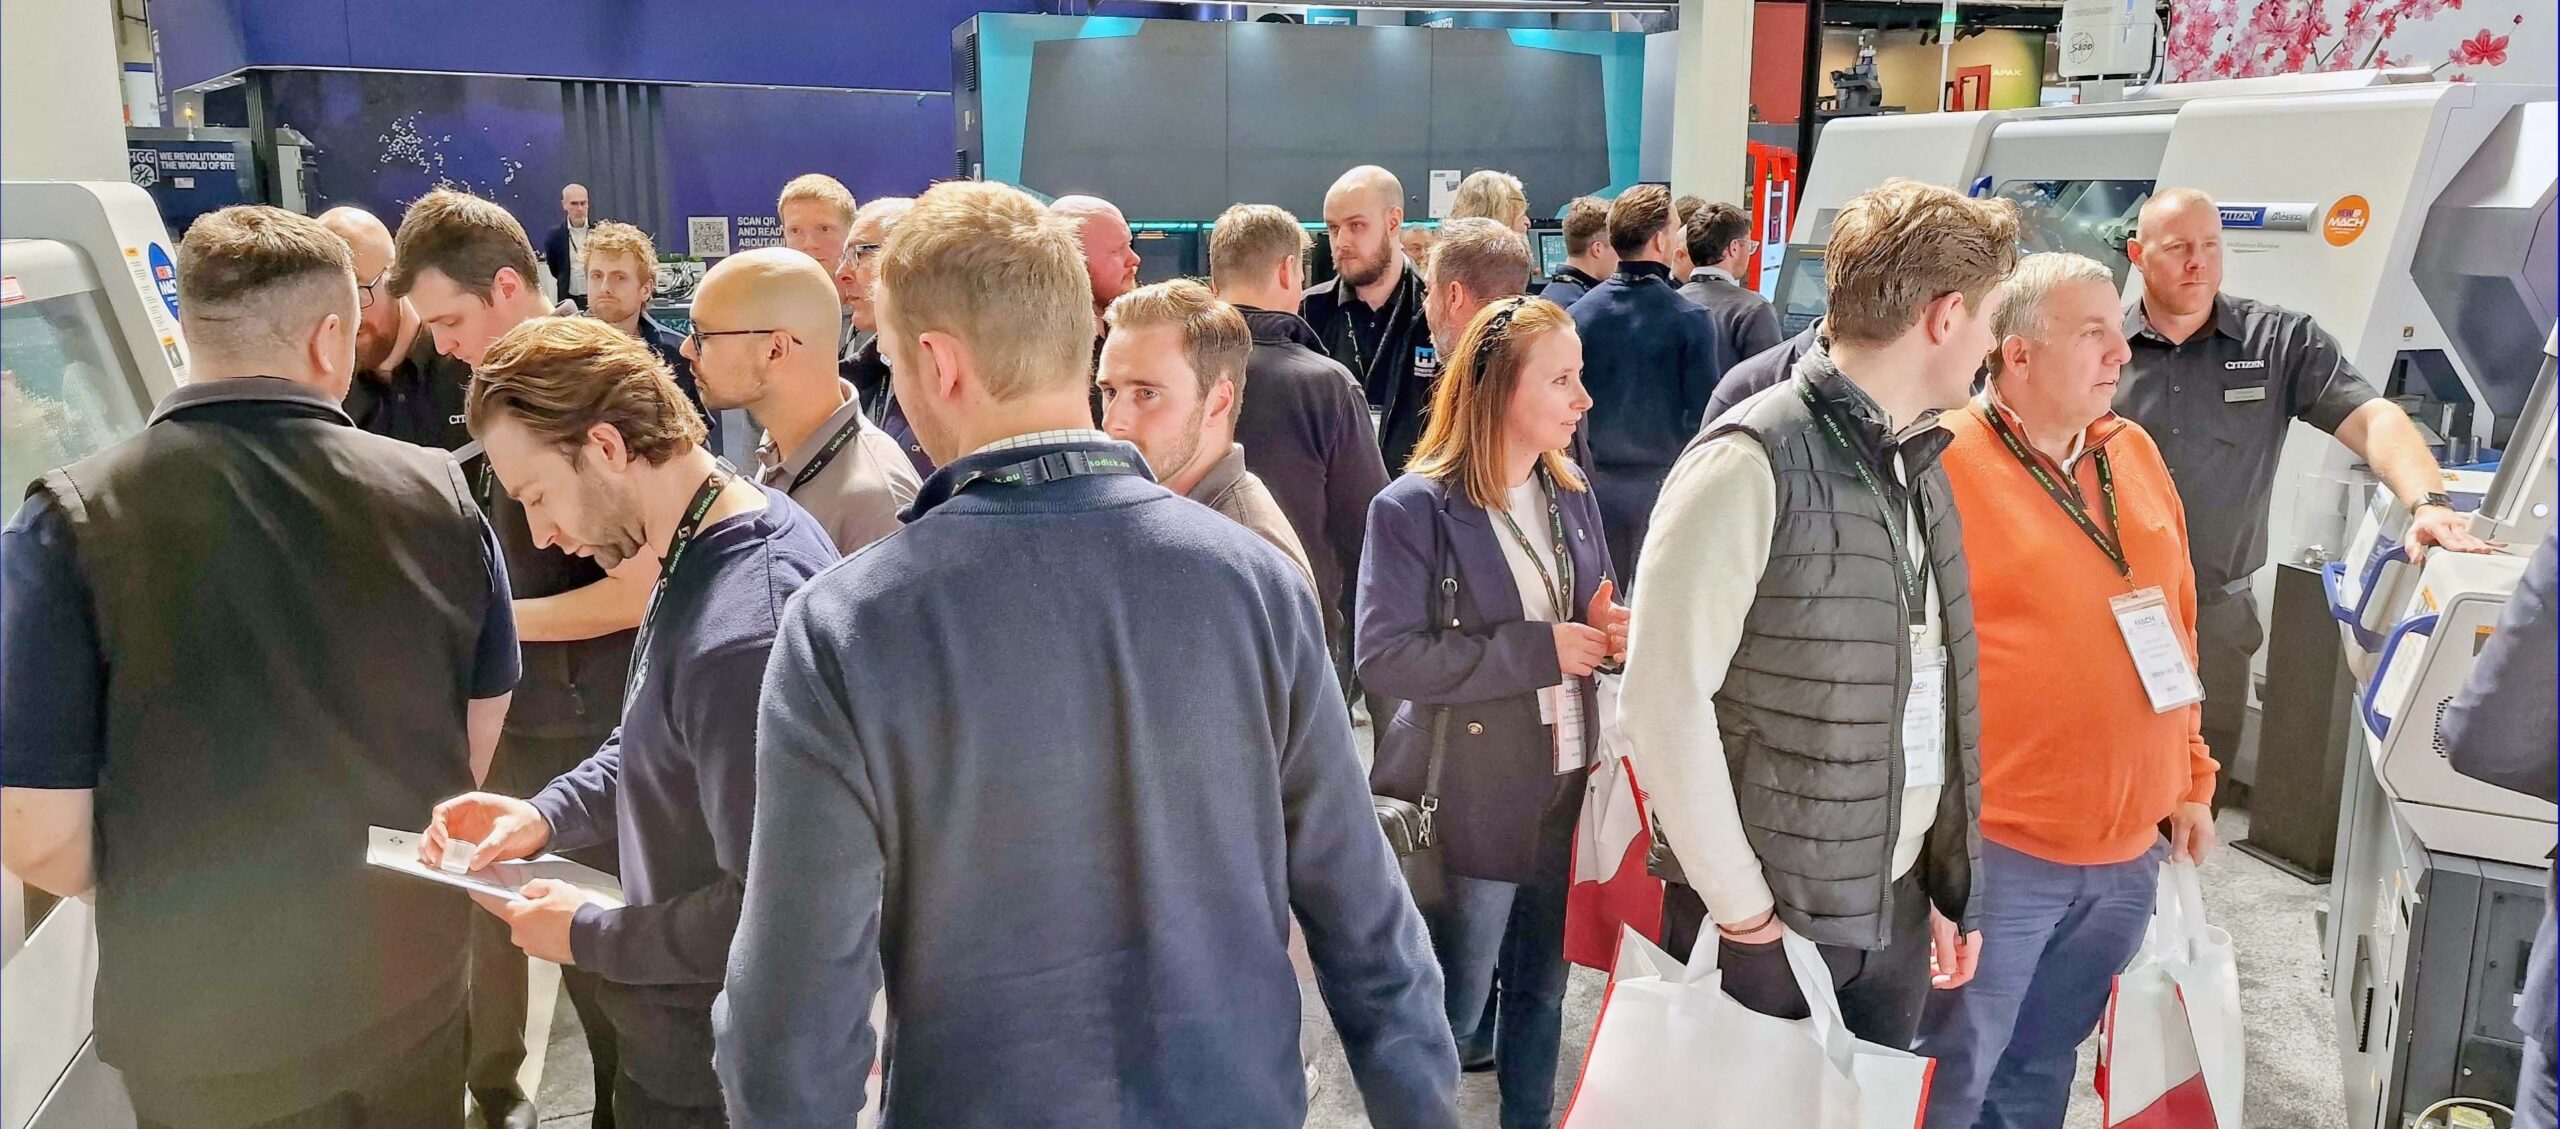
Citizen Takes Lathe Orders Worth Over £4.5 Million At Mach 2026
At the MACH show in Birmingham this April, Citizen Machinery UK secured orders exceeding £4.5 million for 30 new Miyano fixed-head turning centres and Cincom sliding-head CNC lathes. The sales…
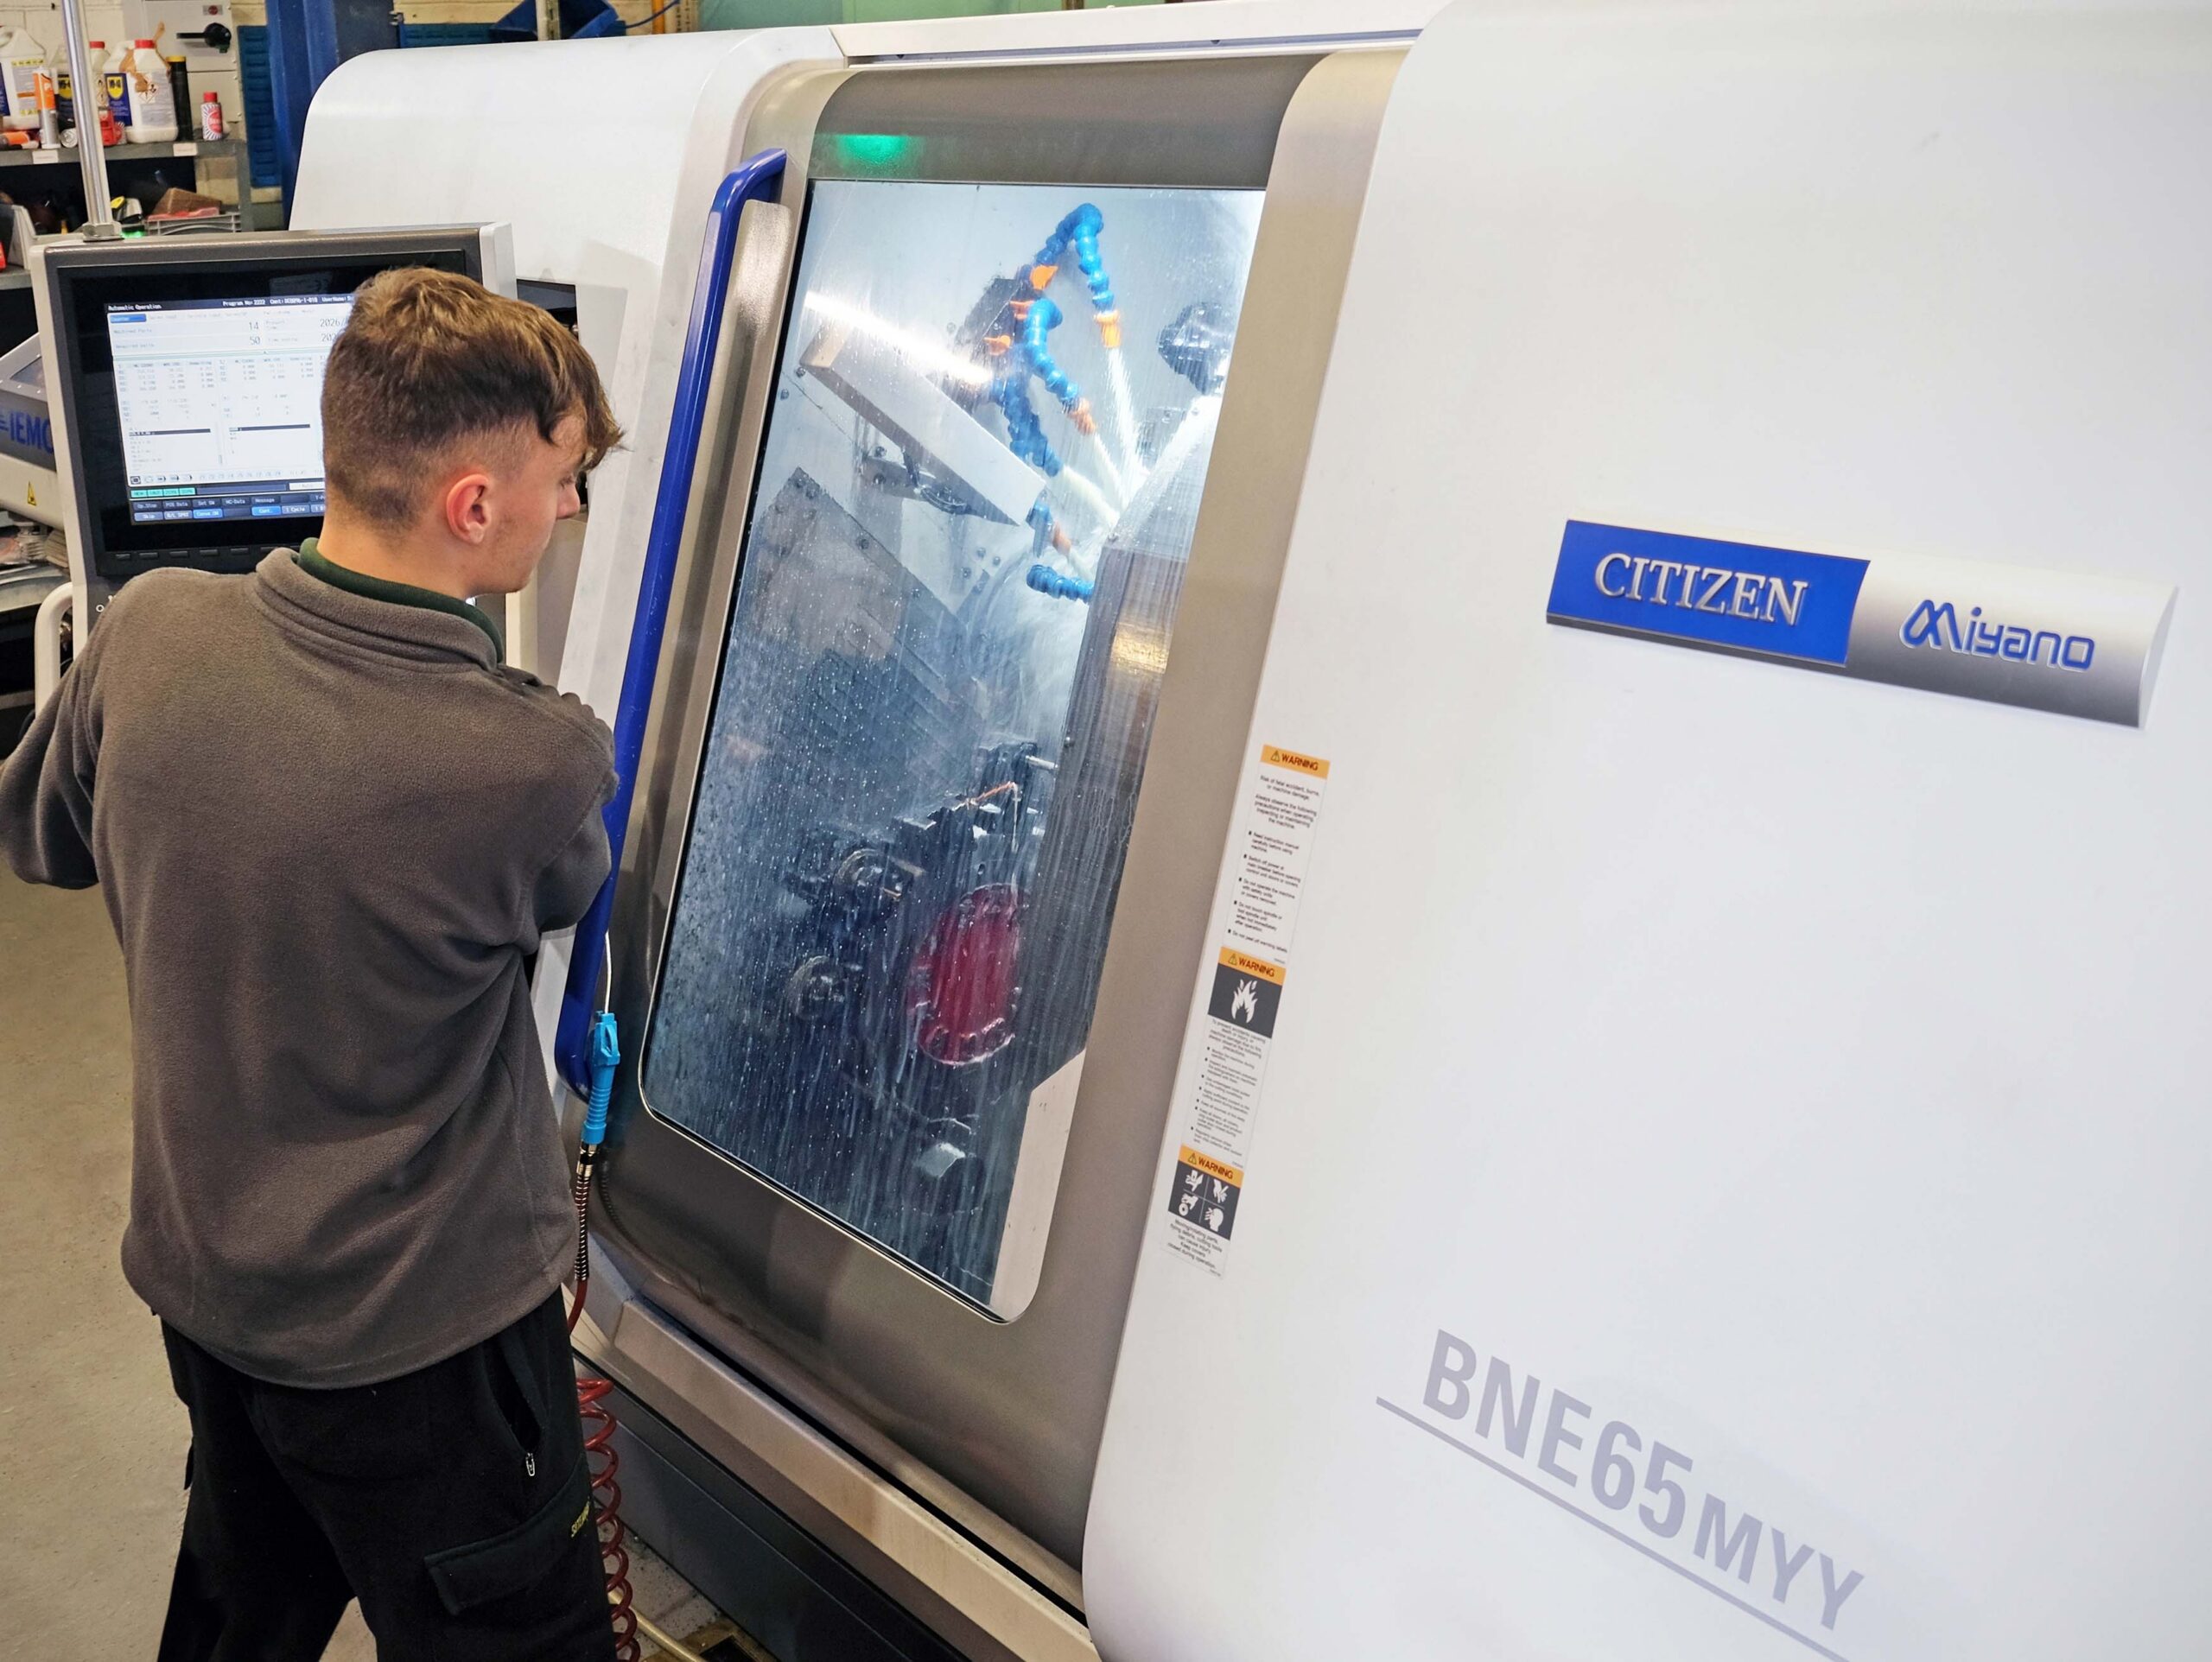
Established as a sliding-head turned parts subcontractor in 2001 by Michael Laybourne, Yorkshire Precision Engineering Ltd (YPEL) diversified into fixed-head turning six years later with the purchase of a new,…
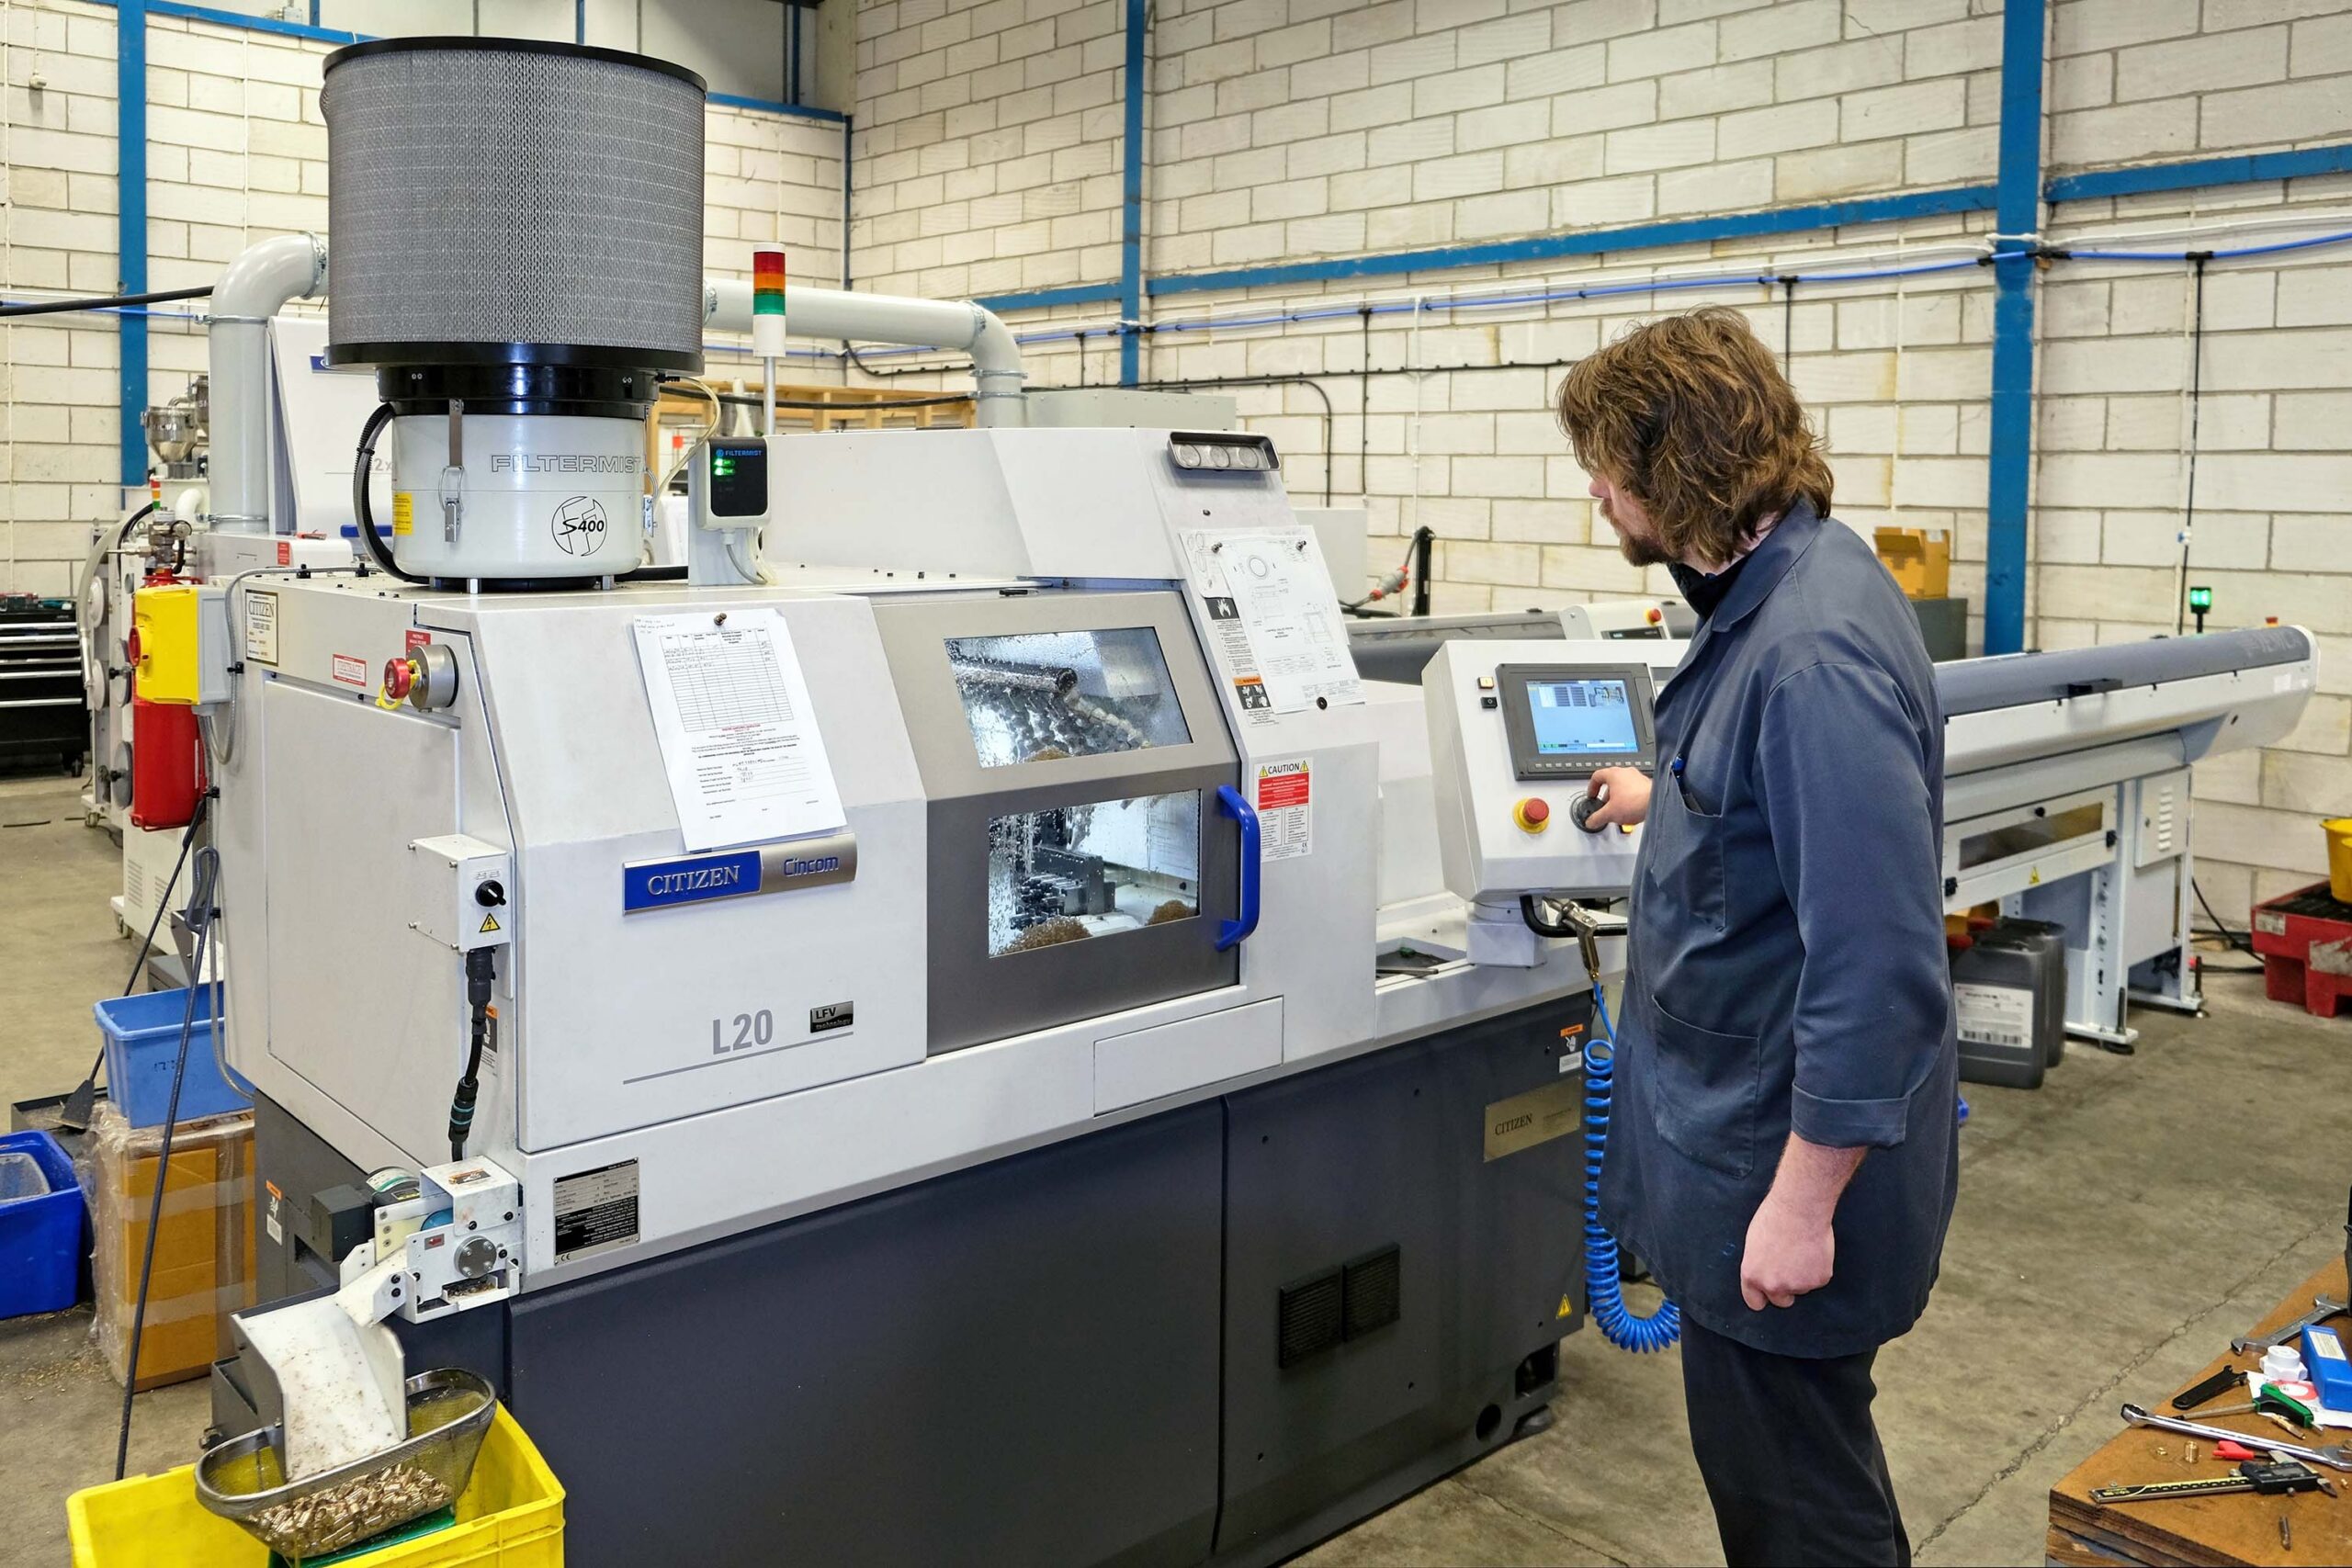
Medical Equipment Factory’s Meteoric Expansion Continues Alongside Citizen Lathe Investments
Formerly with an almost exclusive focus on producing equipment such as resuscitators used by paramedics and first responders in pre-hospital care and the emergency services, Halstead-based Meditech has since the…